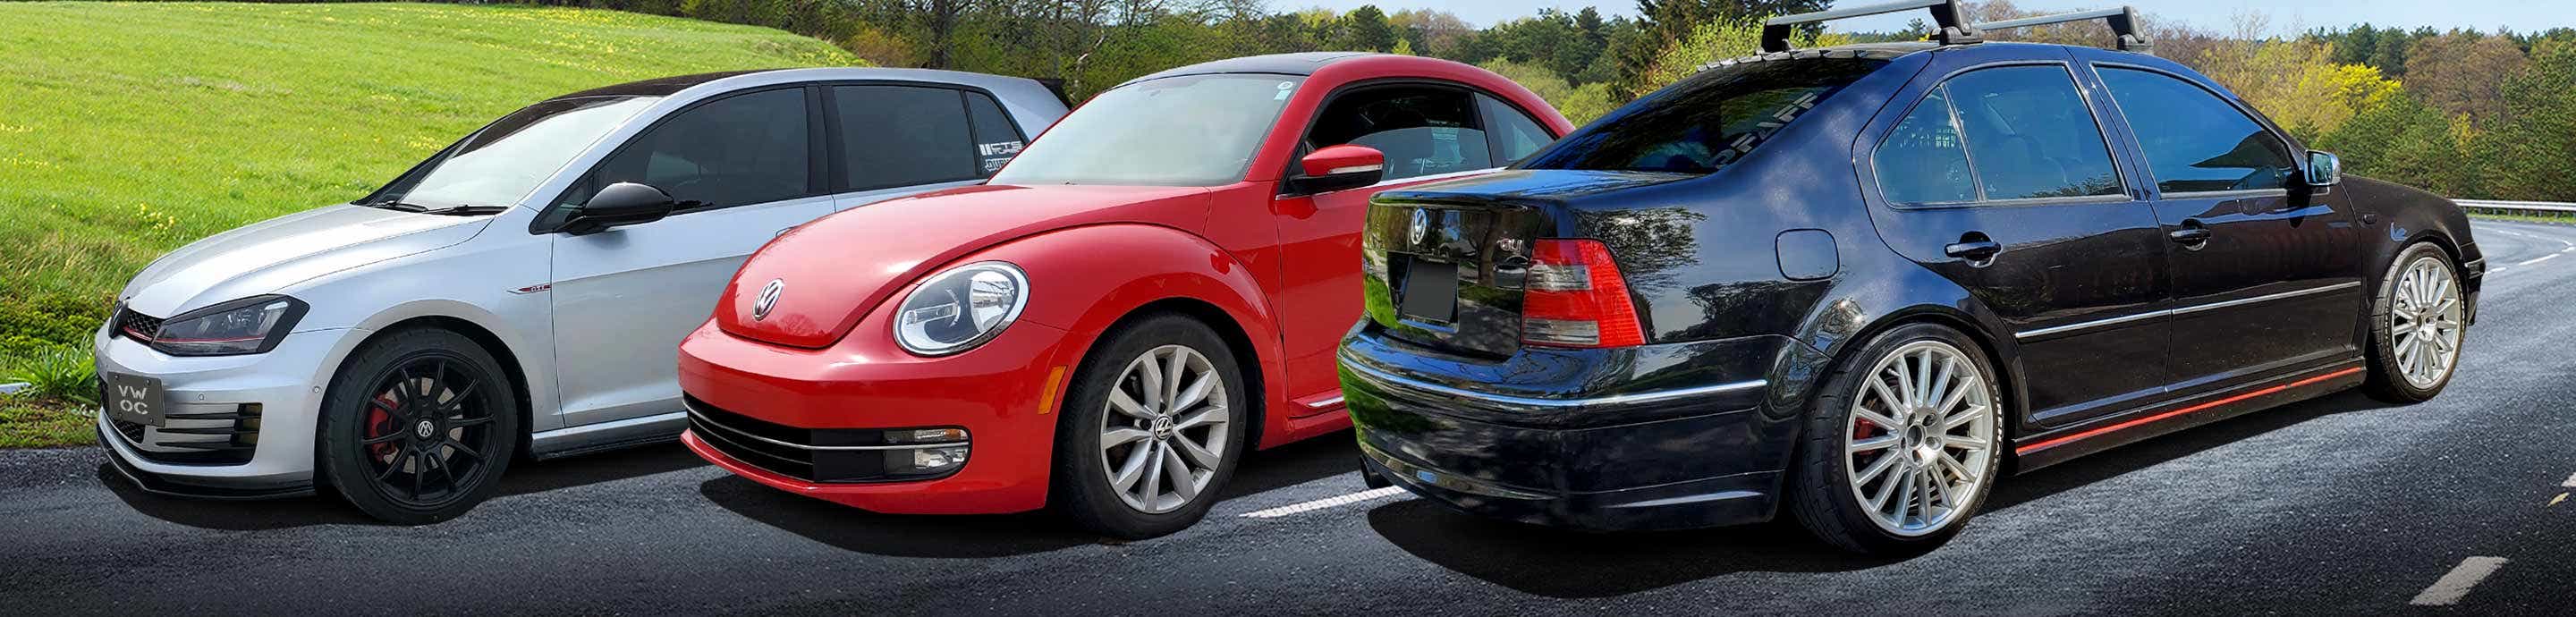

Why swap? The GTI utilizes 286mm rear rotors (solid), just 2mm smaller than the rabbit front rotors (288mm vented). Everyone has heard about the quick wear on the Rabbit rear brakes. However, the GTI's do not appear to have this problem. So at the cost of a few extra unsprung pounds you get longer brake pad/rotor life and shorter braking. Just like the front brakes the GTI and Rabbits share the same pads and calipers, the only difference being the rotor and caliper carriers.
Difficulty rating 4/10 If you have the right tools its fairly simple.
A couple of things to note.
You cannot remove the rear calipers with the ebrake on. Use wheel chocks to stop the front wheels from moving and leave the car in 1st gear (manual) or park (automatic).
You'll only need to do about 1/2 of what is shown if you are swapping the stock rotors/pads for a rabbit.
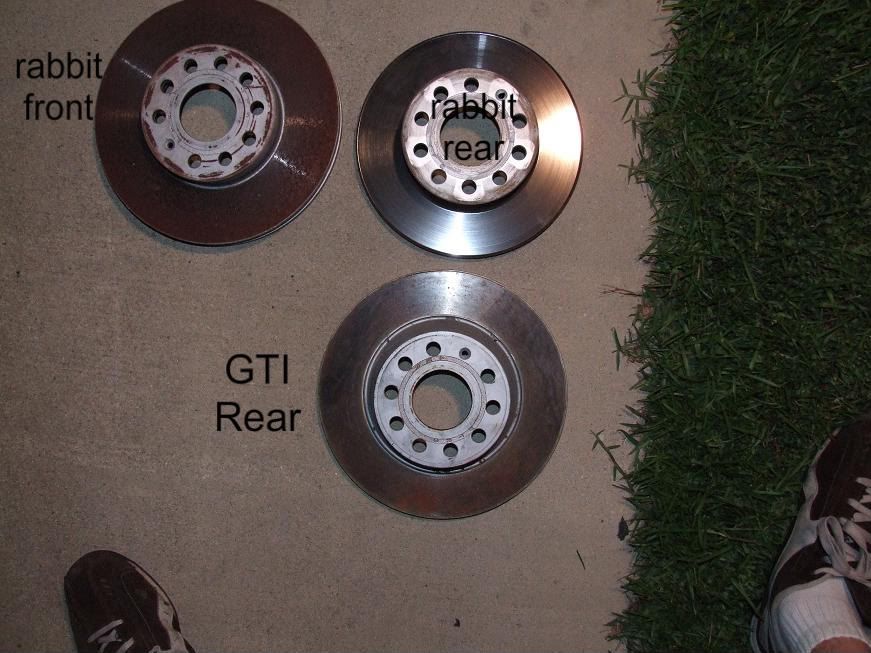
Rotor Comparison (Rabbit rotor weight 9.0lbs GTI rotor weight 10.5lbs)
![Image]()
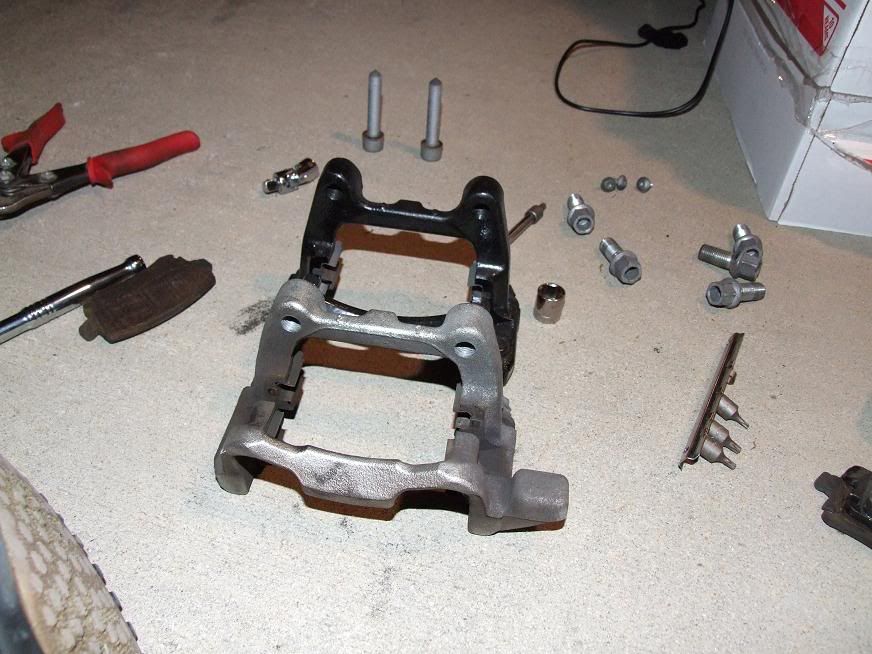
Carrier Comparison (GTI's are in black at 1.5lbs, Rabbits in silver at 2lbs)
![Image]()
![Image]()
Tools required.
Jack
14mm Triple Square
3/8 in drive breaker bar
T30 bit
17mm deep weld socket and appropriate ratchet
caliper piston compressor kit
$99 tool rental at Advanced Auto Parts(fully refundable)
$55 tool rental at Autozone (fully refundable)
$20 (not including tax/shipping) to purchase from Harbor Freight (larger kit is $35)
My final price from Harbor Freight was $30.40
GTI swap additional tools
13mm socket w/ ratchet
15mm box/open end wrench
tin snips
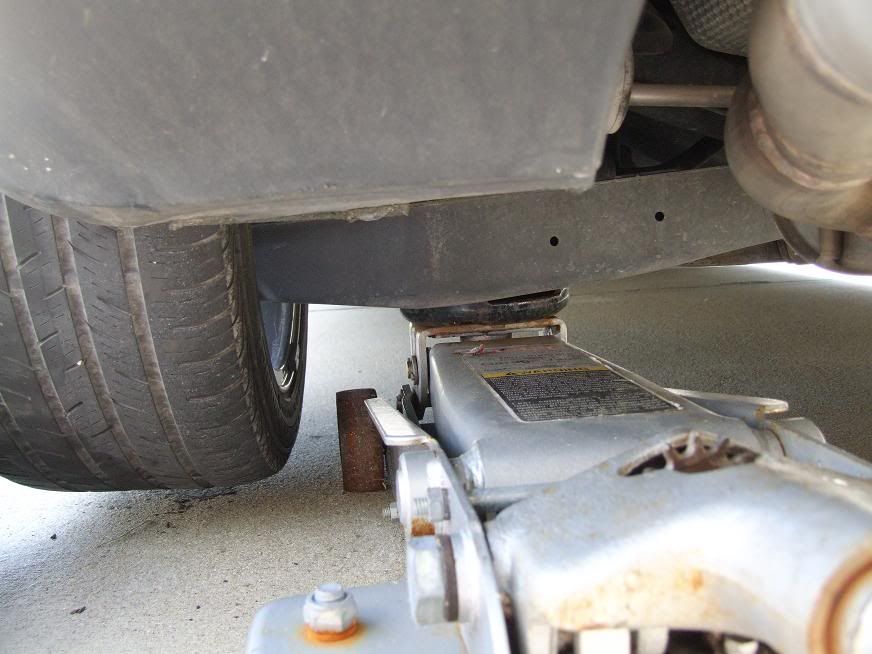
I'm starting this off easy by breaking the torque on the lug nuts, jacking up the rear control arm then removing the wheel/tire.
![Image]()
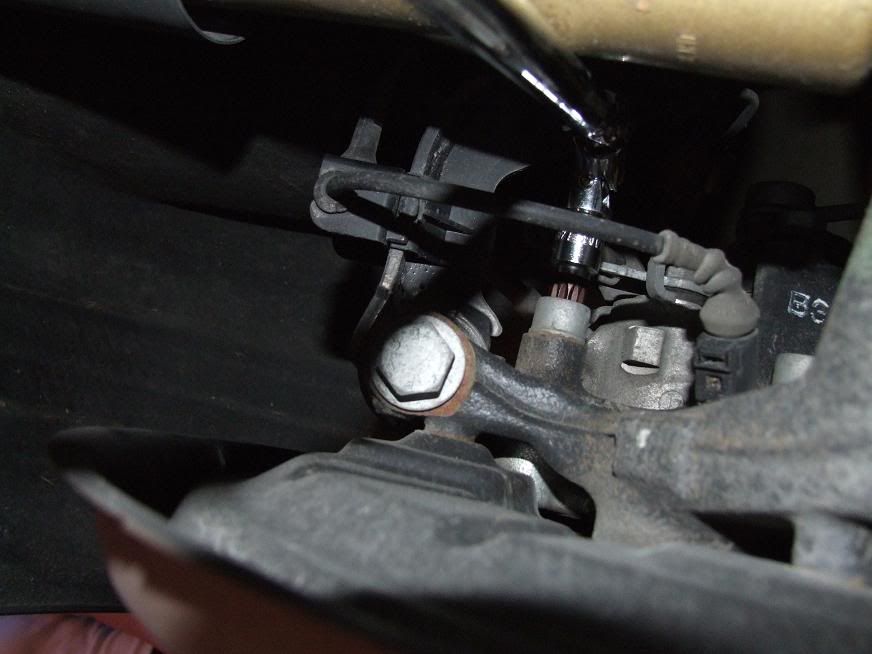
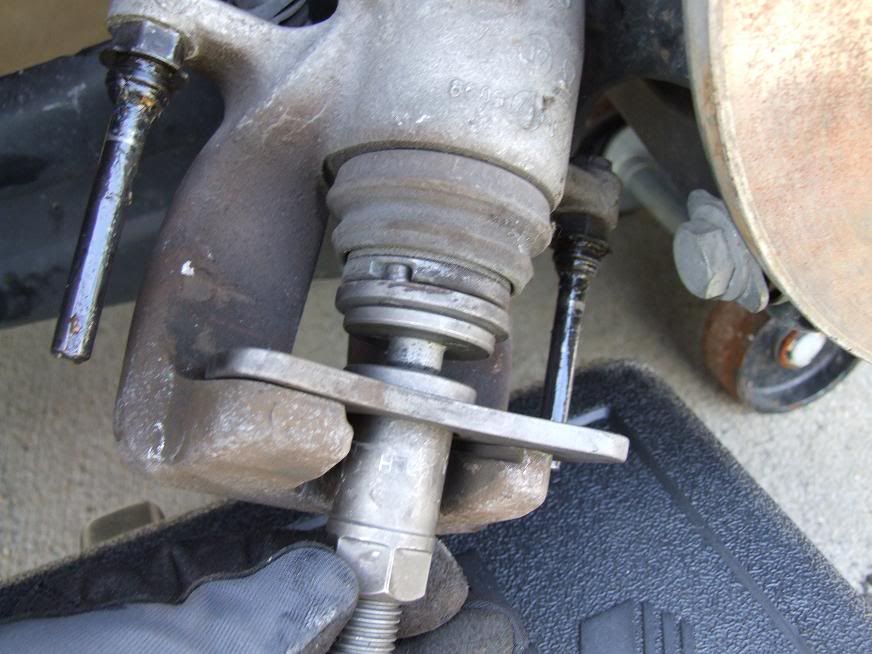
Locate the 14mm triple square bolts.
![Image]()
Curse the skies in anger when the torque finally breaks and you rack your knuckles.
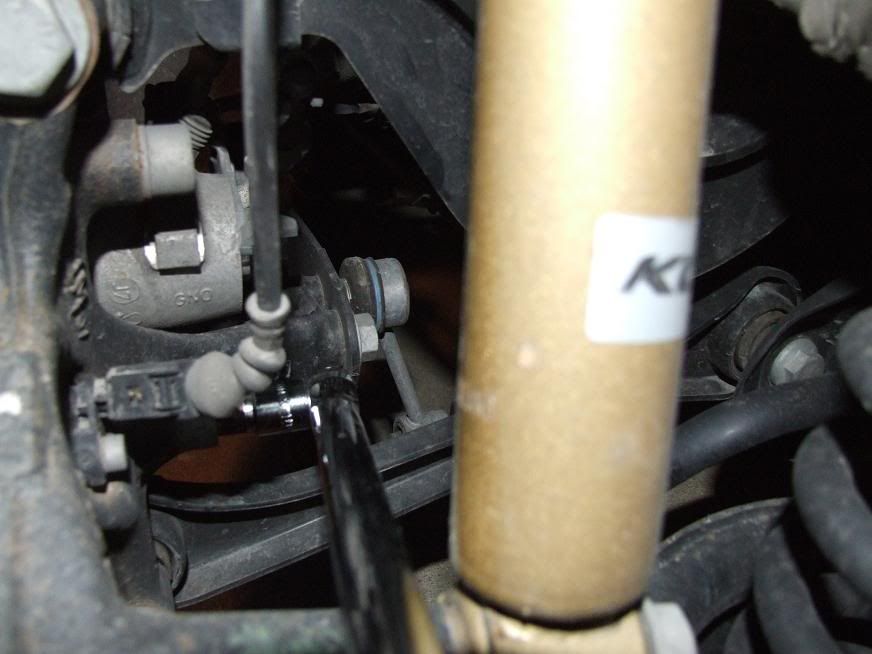
Loosen bottom bolt.
![Image]()
Remove top and bottom 14mm triple square bolt and wiggle caliper loose. (Note, you cannot remove the caliper with the ebrake on.)
![Image]()
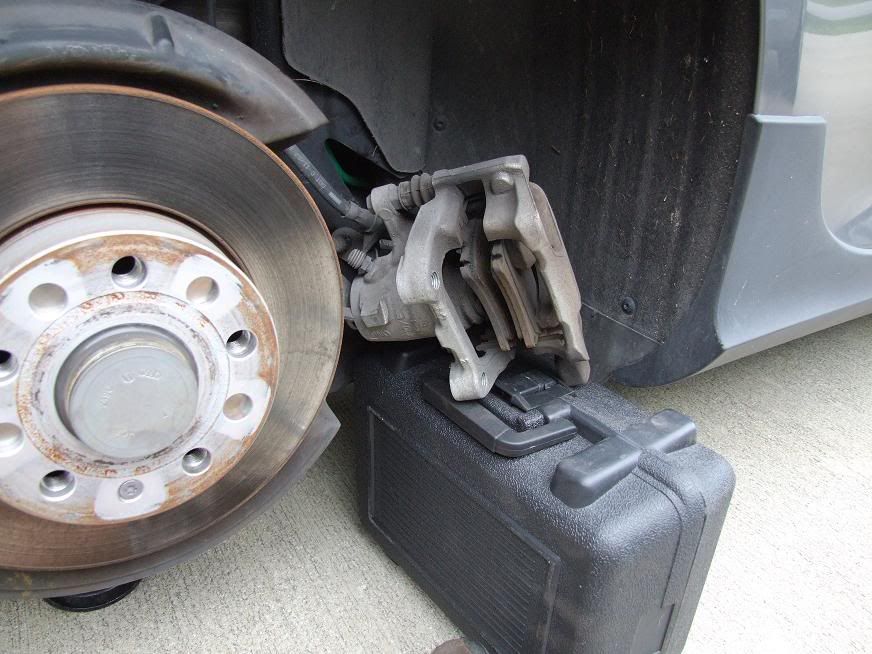
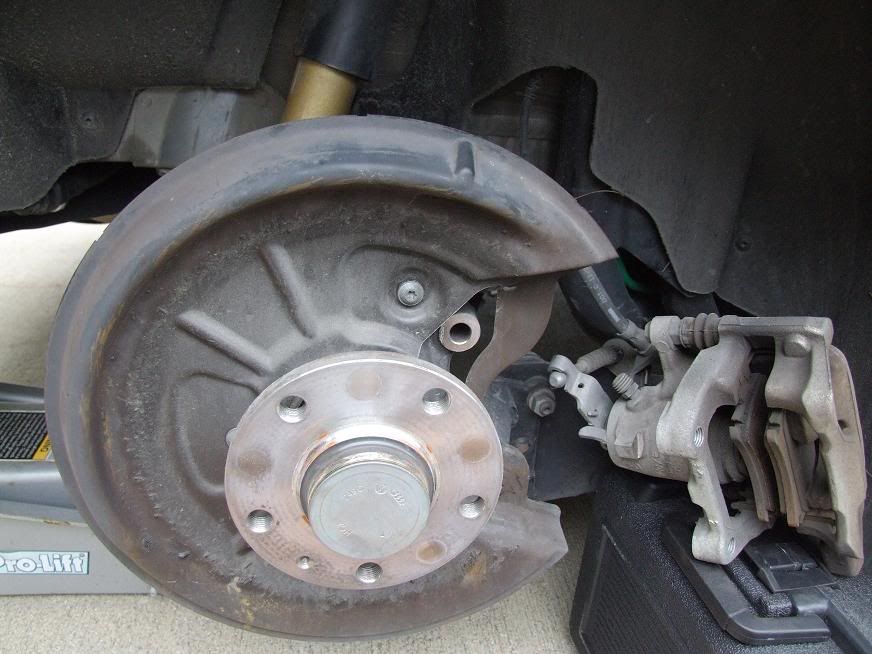
brace the caliper on something so as not to put any undue stress on the brake lines.
![Image]()
Difficulty rating 4/10 If you have the right tools its fairly simple.
A couple of things to note.
You cannot remove the rear calipers with the ebrake on. Use wheel chocks to stop the front wheels from moving and leave the car in 1st gear (manual) or park (automatic).
You'll only need to do about 1/2 of what is shown if you are swapping the stock rotors/pads for a rabbit.
Rotor Comparison (Rabbit rotor weight 9.0lbs GTI rotor weight 10.5lbs)
Carrier Comparison (GTI's are in black at 1.5lbs, Rabbits in silver at 2lbs)

Tools required.
Jack
14mm Triple Square
3/8 in drive breaker bar
T30 bit
17mm deep weld socket and appropriate ratchet
caliper piston compressor kit
$99 tool rental at Advanced Auto Parts(fully refundable)
$55 tool rental at Autozone (fully refundable)
$20 (not including tax/shipping) to purchase from Harbor Freight (larger kit is $35)
My final price from Harbor Freight was $30.40
GTI swap additional tools
13mm socket w/ ratchet
15mm box/open end wrench
tin snips
I'm starting this off easy by breaking the torque on the lug nuts, jacking up the rear control arm then removing the wheel/tire.
Locate the 14mm triple square bolts.
Curse the skies in anger when the torque finally breaks and you rack your knuckles.
Loosen bottom bolt.
Remove top and bottom 14mm triple square bolt and wiggle caliper loose. (Note, you cannot remove the caliper with the ebrake on.)

brace the caliper on something so as not to put any undue stress on the brake lines.


")


