
How do you tell your Strut and Mounts are bad?
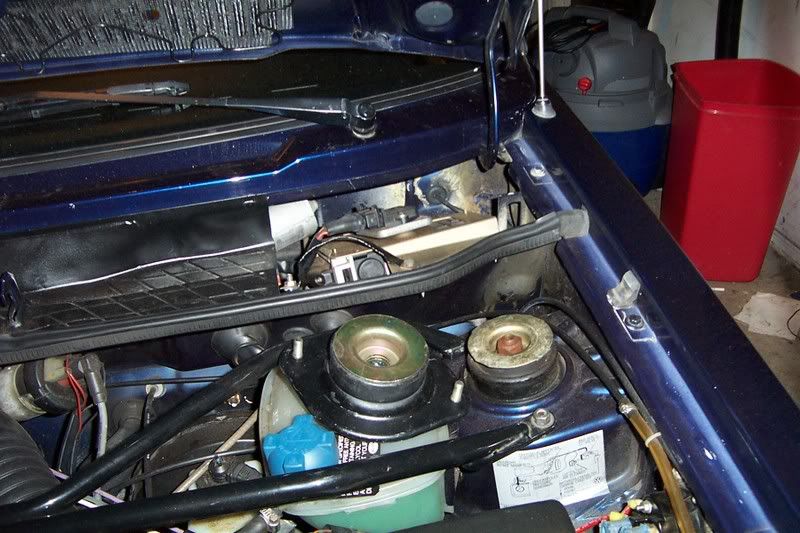
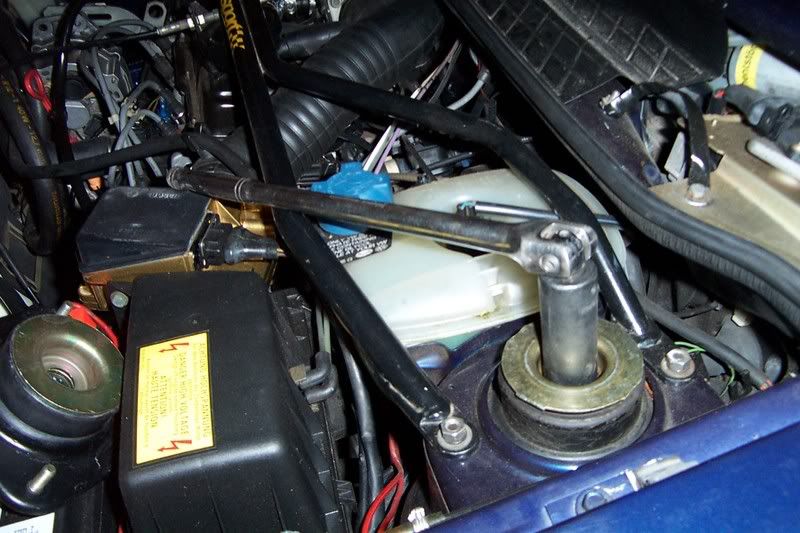
This is a bad mount:
![Image]()
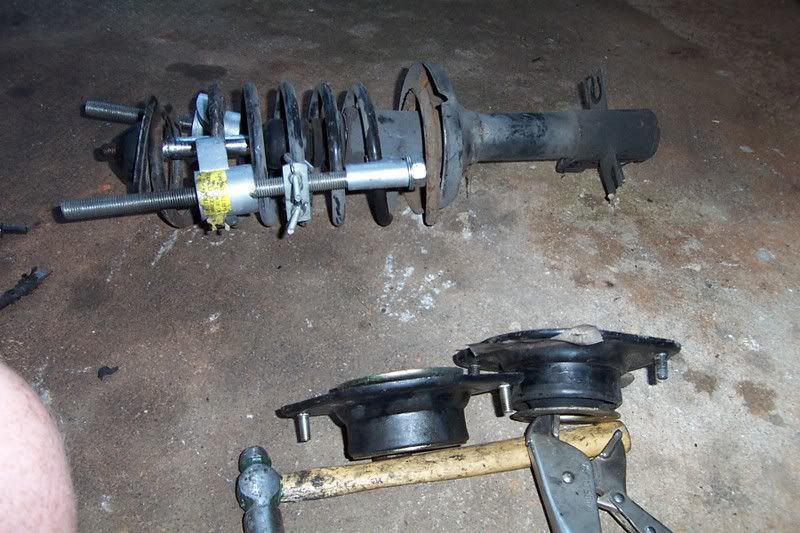
This is a good strut mount beside a bad one.
![Image]()
How do I fix it?
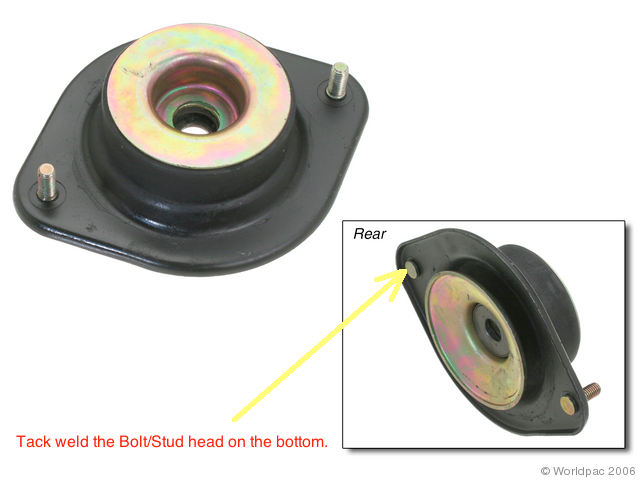
First thing is to take your New Strut Mount and flip it over.
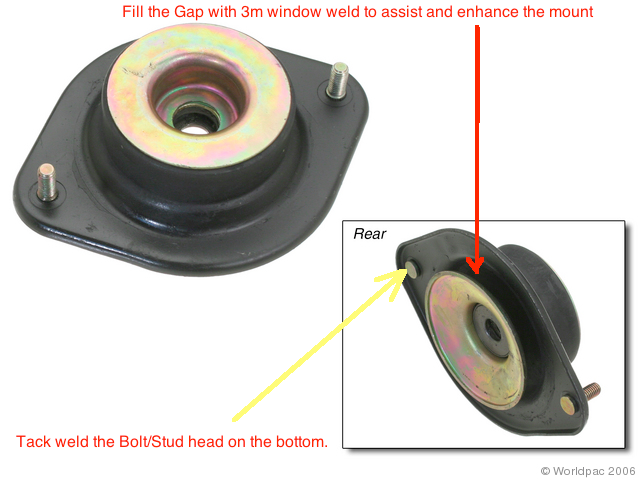
Tack Weld the Press Bolts to the mount. I have had 2 mounts that the press bolt broke free as I was tightening it, and having to worm a wire welder up the strut mount to weld the bolts in place wasn't fun.
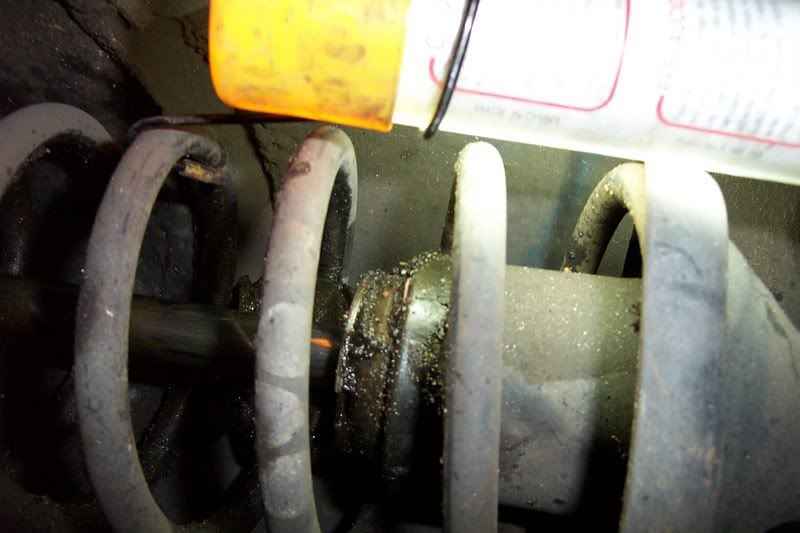
Second thing is to fill the gap at the bottom of the mount with 3m urethane Window Weld.
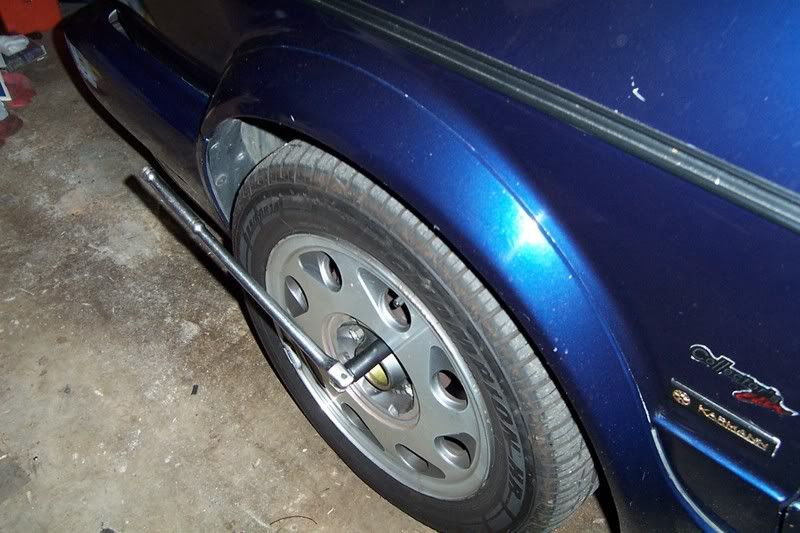
Take off the center cap, and break the torque on the lug bolts
![Image]()
Jack the front of the car.
![Image]()
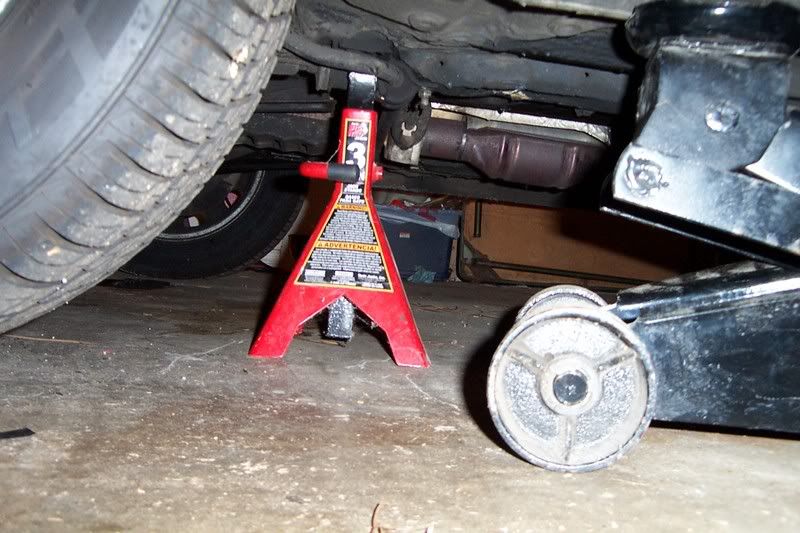
Place a jack stand under the car, and lower the car onto the jack, but leave the hydraulic
jack in place with almost pressure on it as a safety.
![Image]()
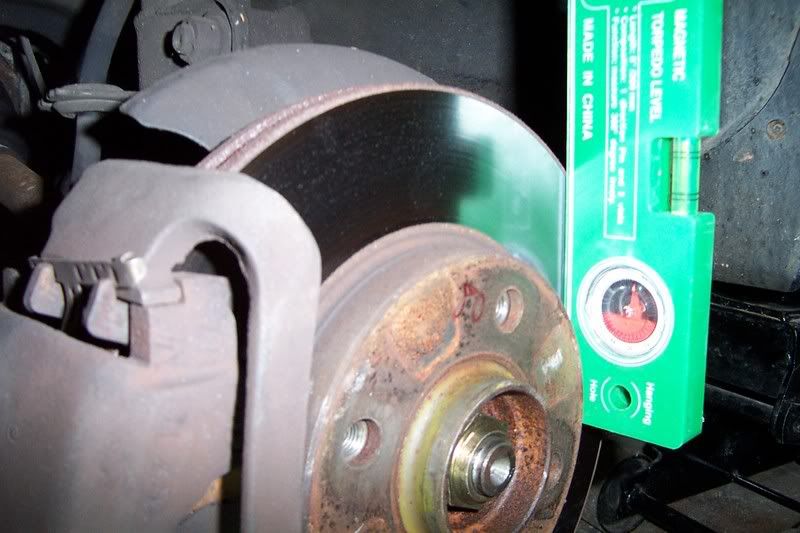
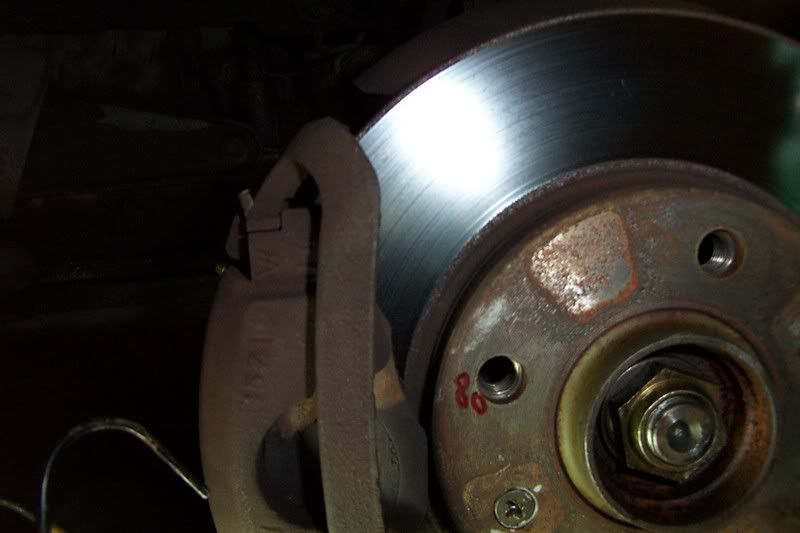
Take your measuring tool for angles and record the angle of camber and write it on the
disc in sharpie, or on the tool.
![Image]()
![Image]()
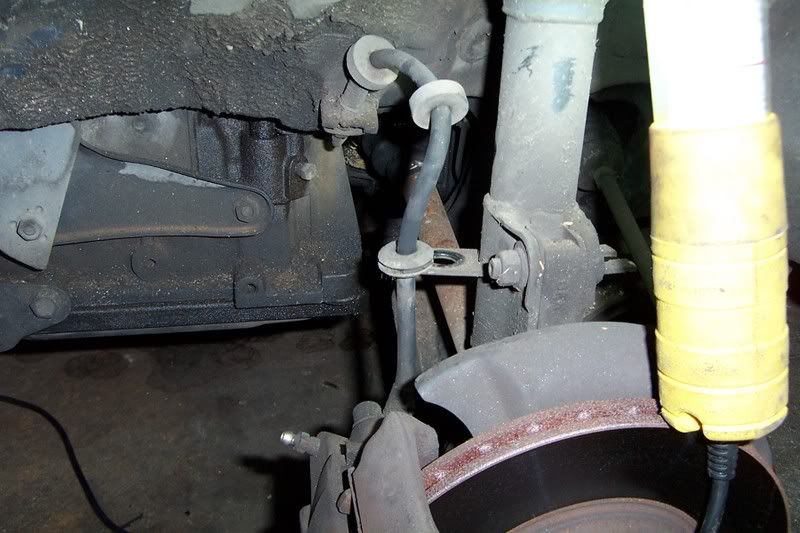
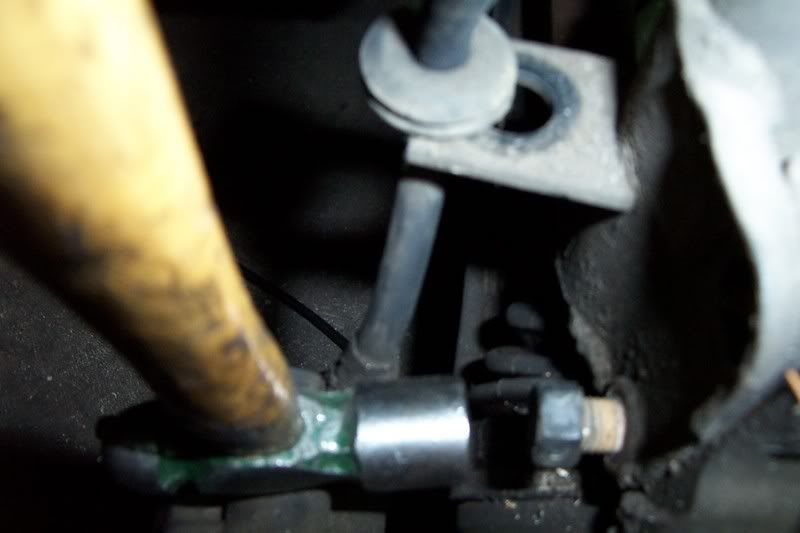
Remove the brake line from the holder. DO NOT PULL ON THE HOSE pry it off.
![Image]()
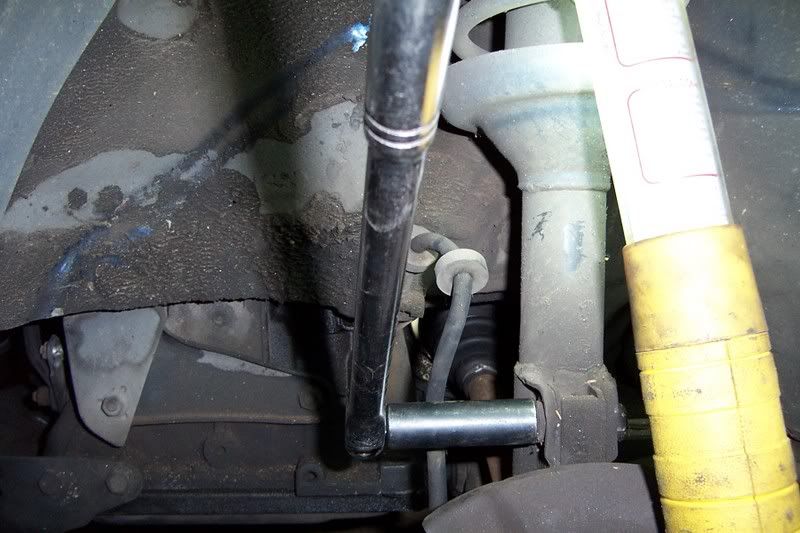
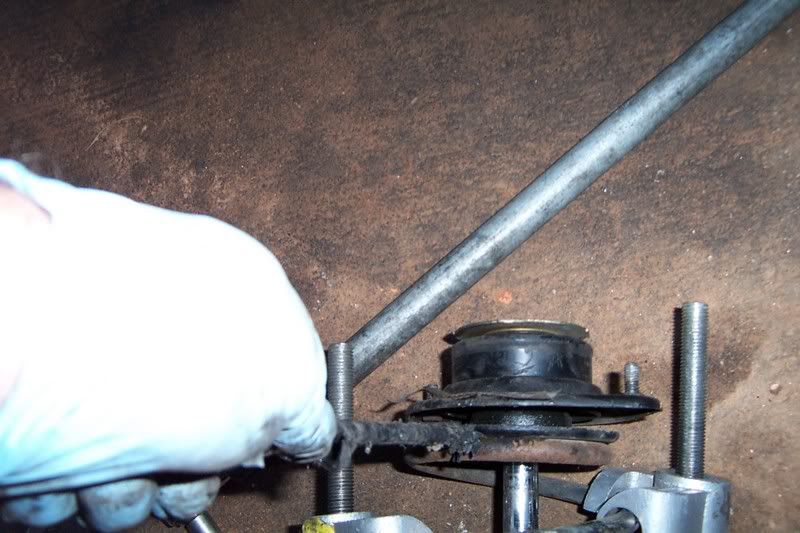
Break the two camber /strut to hub bolt loose.
![Image]()
Remove the two 13mm bolts on the top
![Image]()
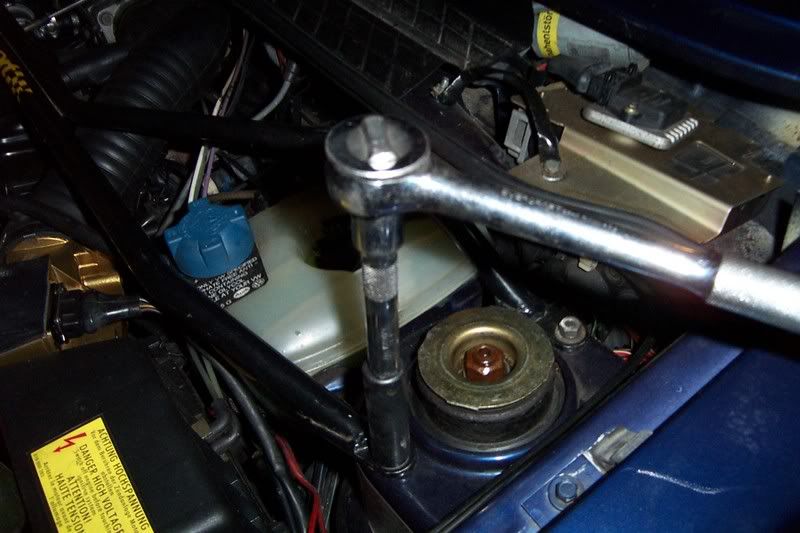
Break the torque on the top strut bolt, DO NOT REMOVE LOOSEN ONLY.
![Image]()
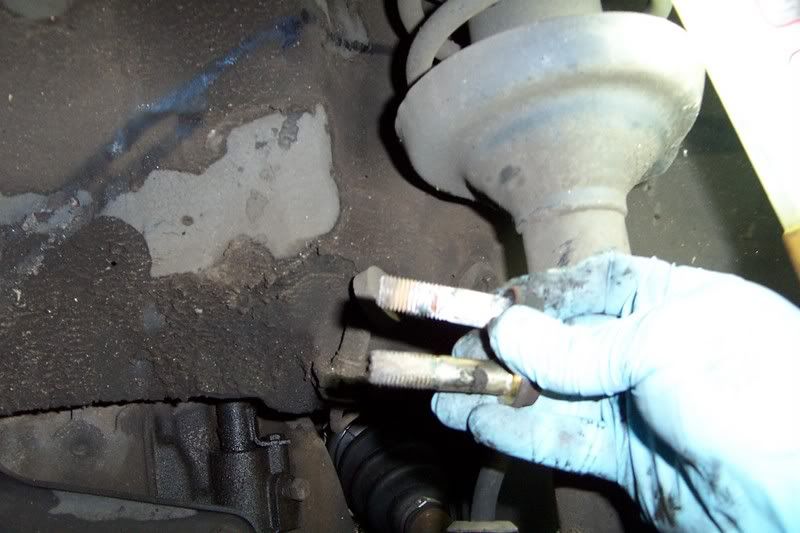
Take the two lower bolts out, you may have to persuade then a bit, leave the nuts on and smack the bolts out…. If the Bolts haven’t been out in a while they can corrode.
![Image]()
![Image]()
Pull it out of the car……………..
![Image]()
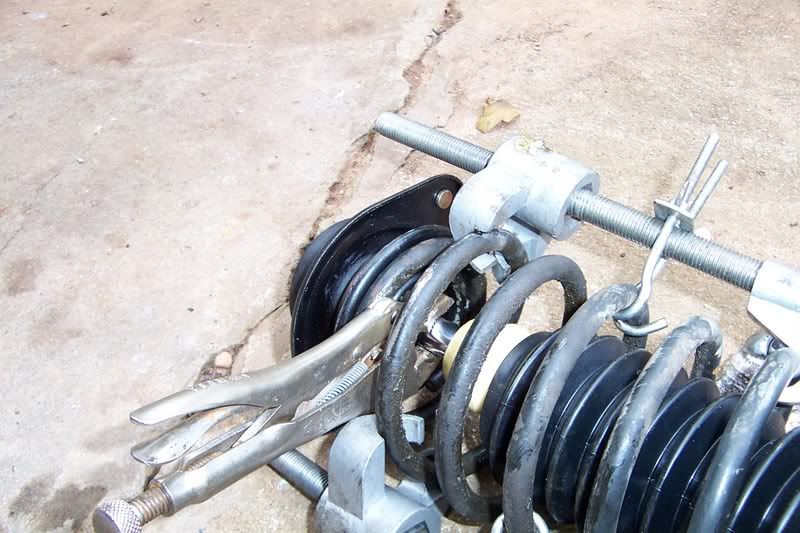
Put your spring compressors on 180 degrees apart.
Tighten them equally and when you can put a screwdriver between the top spring seat and the spring, and it moves freely, then you can start to remove the top nut.
![Image]()
Good mount Bad mount .
![Image]()
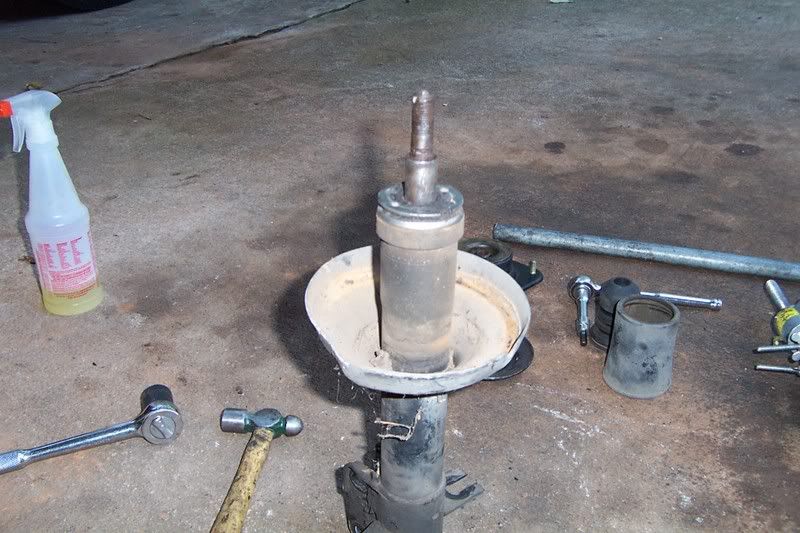
Remove the spring and set aside. See the bad Strut?
![Image]()
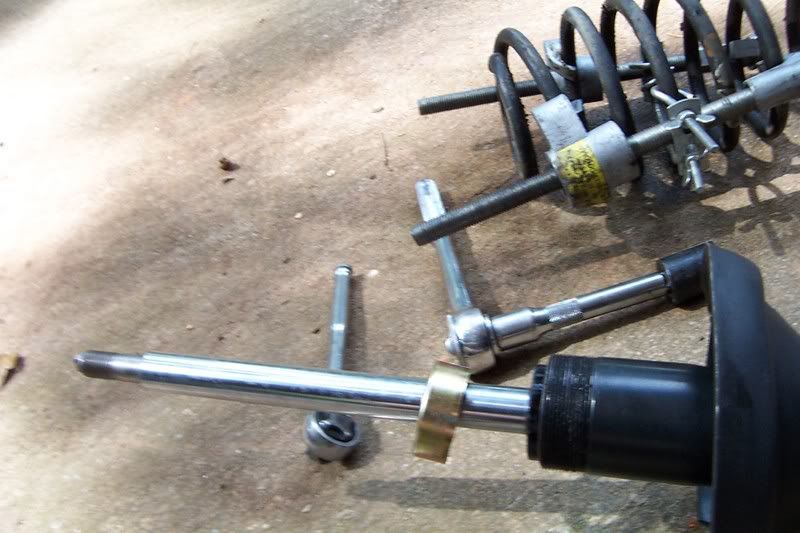
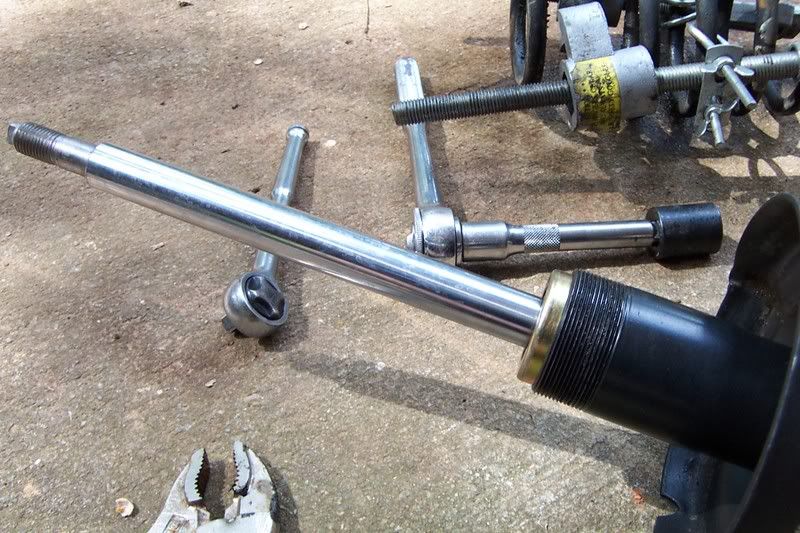
To remove the strut cap nut, if you don’t have a vise…. Place the strut on the concrete and with a drift punch, hit the notched collar counter clock wise. A few good smacks and the collar will come off.
![Image]()
![Image]()
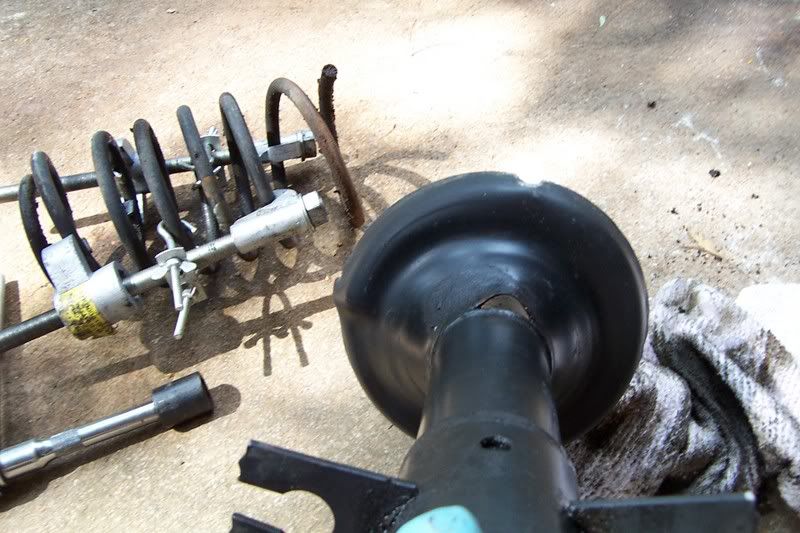
a bad bumper stop /dust cover.
![Image]()
This has an original strut, with the oil filled cart.
![Image]()
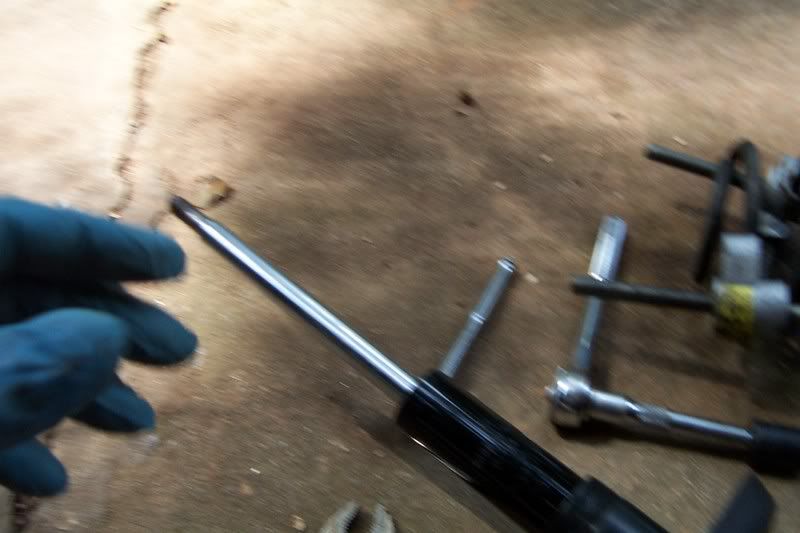
Clean the Strut…. be sure to clean the weap hole too.
![Image]()
weap hole
![Image]()
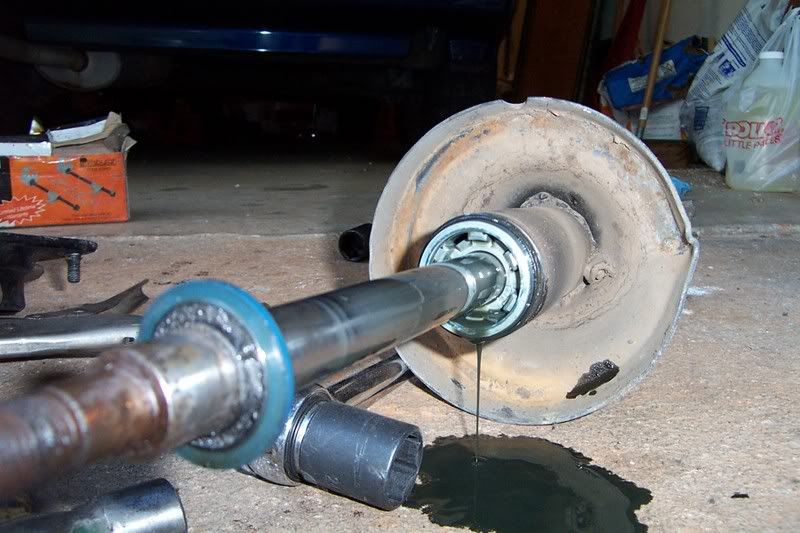
Insert the cartrigde in to the strut tube.
![Image]()
Place the centering collar over the piston, and seat it against the cartridge.
![Image]()
![Image]()
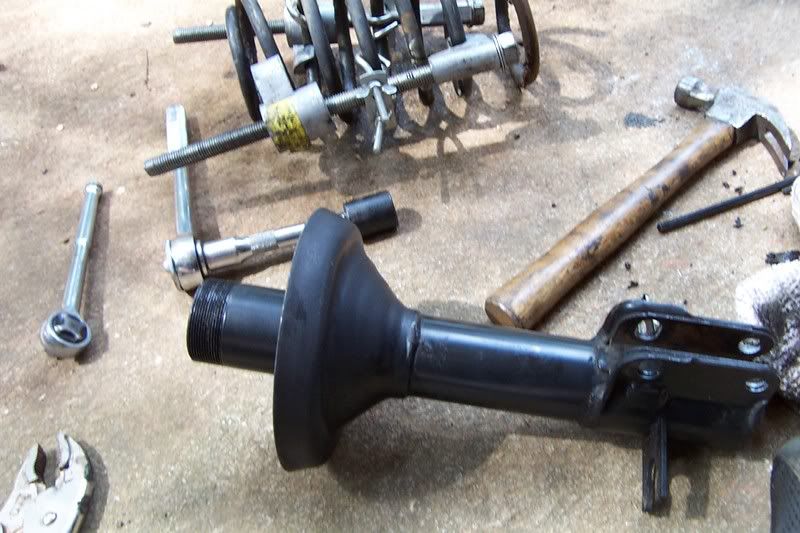
Clean the strut tubes threads, and screw the strut nut on hand tight, as tight as you can get it.
Punch the strut nut in a clockwise direction until it stops moving.
![Image]()
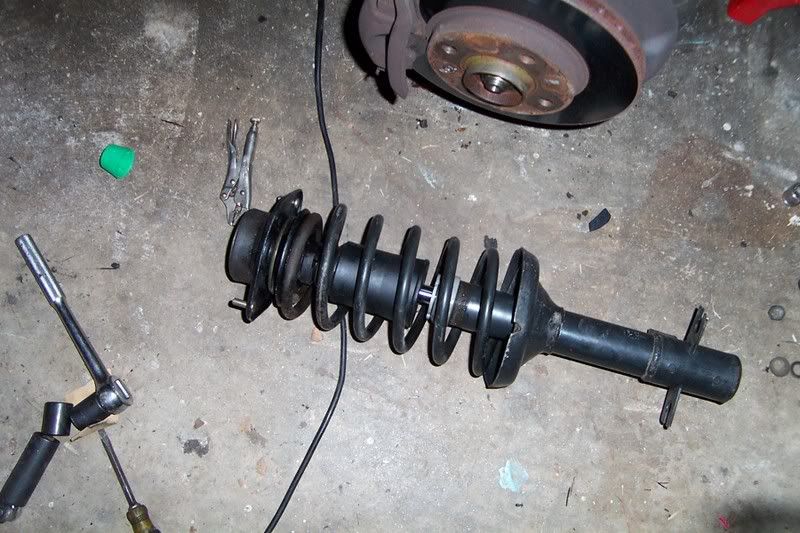
Put the Spring on.
Put the top spring seat, followed by the strut mount, insert the bushing then the washer, and lastly place the nut on the piston and tighten until you can't turn it any more with out spinning the piston.
![Image]()
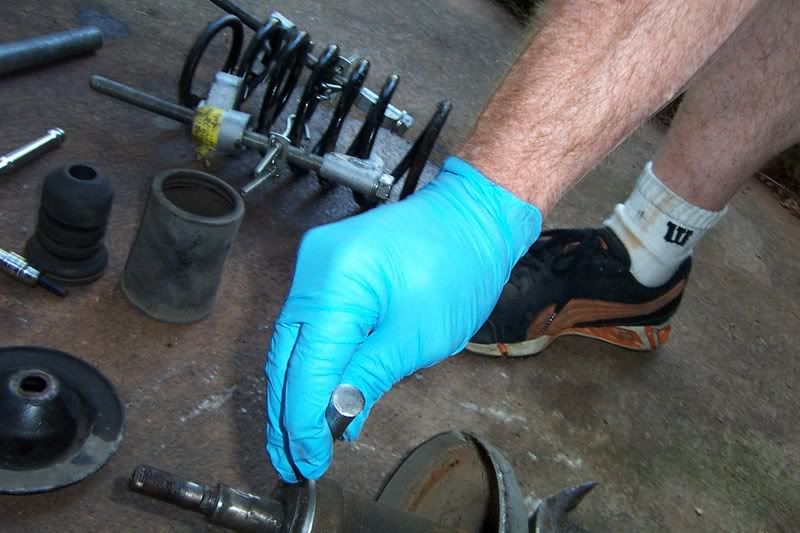
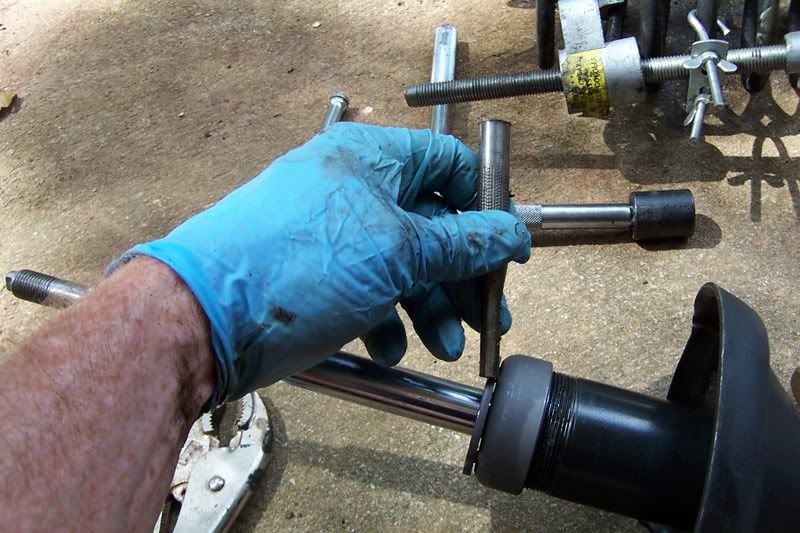
Release spring compressors, equally and remove them.
Then pry the bump stop and dust cover down the shaft, this will allow you to place a
pair of Vice Grips at the very top of the shaft to hold it tight against the concrete, this is in an area where the shock piston never reaches….
![Image]()
With the Vice Grips firmly on the top most of the shaft, you can now tighten the top strut mount to the 59 ft/lbs of torque that you need.
Wow you are almost done.
Insert the assembly in to the tower, and supporting the assembly with one hand position the strut mount in the holes and pushing up catch a nut on a few threads.
![Image]()
Then place the other nut on the strut mount and tighten fully.
Since you are done with the top, you can place the cap back on if it is too loose, work a couple of O-rings around the center… This will lock them suckers in place…. works great if they are cracked too.
![Image]()
Place the bottom two bolts in and tighten a bit.
Place your angle finder back on the rotor and adjust the top cam bolt to the desired angle of degree that you measured.
Once you are there hold the Head of the bolt and tighten the nut being careful not to move the angle. Once that bolt is tight, then tighten the bottom bolt.
I always insert the bolts in the direction of travel, I know that it is a bitch to adjust for the alignment guys…. but that is what I have always done…
Once you have the bolts tight set the torque to 59 ft/lbs on each.. be sure to back it up..
re-check the angle…
Replace the brake hose in the slot….
Place the tire on the hub, and tighten all the bolts .
Jack the car,
Remove the Jack Stand
Lower the car, and finish tightening the Lug bolts, replace the center cap, clean up….
Now you know how my Wed’s go…. Thursday I put new mounts on the Green one….
Why do I wear gloves, because when I am done my hands are clean,,,
![Image]()
This is a bad mount:
This is a good strut mount beside a bad one.
How do I fix it?
First thing is to take your New Strut Mount and flip it over.
Tack Weld the Press Bolts to the mount. I have had 2 mounts that the press bolt broke free as I was tightening it, and having to worm a wire welder up the strut mount to weld the bolts in place wasn't fun.

Second thing is to fill the gap at the bottom of the mount with 3m urethane Window Weld.

Take off the center cap, and break the torque on the lug bolts
Jack the front of the car.

Place a jack stand under the car, and lower the car onto the jack, but leave the hydraulic
jack in place with almost pressure on it as a safety.
Take your measuring tool for angles and record the angle of camber and write it on the
disc in sharpie, or on the tool.
Remove the brake line from the holder. DO NOT PULL ON THE HOSE pry it off.
Break the two camber /strut to hub bolt loose.
Remove the two 13mm bolts on the top
Break the torque on the top strut bolt, DO NOT REMOVE LOOSEN ONLY.
Take the two lower bolts out, you may have to persuade then a bit, leave the nuts on and smack the bolts out…. If the Bolts haven’t been out in a while they can corrode.
Pull it out of the car……………..

Put your spring compressors on 180 degrees apart.
Tighten them equally and when you can put a screwdriver between the top spring seat and the spring, and it moves freely, then you can start to remove the top nut.
Good mount Bad mount .
Remove the spring and set aside. See the bad Strut?
To remove the strut cap nut, if you don’t have a vise…. Place the strut on the concrete and with a drift punch, hit the notched collar counter clock wise. A few good smacks and the collar will come off.

a bad bumper stop /dust cover.
This has an original strut, with the oil filled cart.
Clean the Strut…. be sure to clean the weap hole too.
weap hole
Insert the cartrigde in to the strut tube.
Place the centering collar over the piston, and seat it against the cartridge.
Clean the strut tubes threads, and screw the strut nut on hand tight, as tight as you can get it.
Punch the strut nut in a clockwise direction until it stops moving.
Put the Spring on.
Put the top spring seat, followed by the strut mount, insert the bushing then the washer, and lastly place the nut on the piston and tighten until you can't turn it any more with out spinning the piston.
Release spring compressors, equally and remove them.
Then pry the bump stop and dust cover down the shaft, this will allow you to place a
pair of Vice Grips at the very top of the shaft to hold it tight against the concrete, this is in an area where the shock piston never reaches….
With the Vice Grips firmly on the top most of the shaft, you can now tighten the top strut mount to the 59 ft/lbs of torque that you need.
Wow you are almost done.
Insert the assembly in to the tower, and supporting the assembly with one hand position the strut mount in the holes and pushing up catch a nut on a few threads.

Then place the other nut on the strut mount and tighten fully.
Since you are done with the top, you can place the cap back on if it is too loose, work a couple of O-rings around the center… This will lock them suckers in place…. works great if they are cracked too.
Place the bottom two bolts in and tighten a bit.
Place your angle finder back on the rotor and adjust the top cam bolt to the desired angle of degree that you measured.
Once you are there hold the Head of the bolt and tighten the nut being careful not to move the angle. Once that bolt is tight, then tighten the bottom bolt.
I always insert the bolts in the direction of travel, I know that it is a bitch to adjust for the alignment guys…. but that is what I have always done…
Once you have the bolts tight set the torque to 59 ft/lbs on each.. be sure to back it up..
re-check the angle…
Replace the brake hose in the slot….
Place the tire on the hub, and tighten all the bolts .
Jack the car,
Remove the Jack Stand
Lower the car, and finish tightening the Lug bolts, replace the center cap, clean up….
Now you know how my Wed’s go…. Thursday I put new mounts on the Green one….
Why do I wear gloves, because when I am done my hands are clean,,,